Did you know that over 75% of homeowners struggle with muddy paths or worn-out edges in their outdoor spaces? Instead of buying expensive new materials, you can transform your space with items you already have. Sustainable Home Magazine calls this trend a game-changer for eco-conscious living.
Reclaimed bricks, pallets, and broken concrete offer durable solutions. They prevent mud tracking while adding rustic charm. Best of all, these projects save money and reduce waste.
Imagine turning old tires into playful edging or crafting borders from leftover shingles. These ideas blend function with creativity, making your space unique. Ready to explore more?
Key Takeaways
- Repurposed items solve common issues like mud and wear.
- Reclaimed materials cut costs and help the planet.
- Projects like tire edging add whimsy and function.
- Sustainable Home Magazine offers expert eco-tips.
- Broken concrete and pallets create sturdy paths.
Why Choose Recycled Materials for Garden Borders and Pathways
Every year, millions of tons of discarded items end up in landfills—why not give them new life? Repurposing materials not only helps to solve common problems like mud tracking and uneven edges but also significantly contributes to reducing waste in our environment. By creatively reusing items such as old bricks, tires, and even glass bottles, we can transform our gardens into unique spaces that reflect our values and creativity. Sustainable Home Magazine champions this approach as a win for both your space and the planet, encouraging us to think outside the box and find innovative ways to incorporate these materials into our landscaping projects. The act of repurposing not only beautifies our surroundings but also fosters a deeper connection to sustainability and resourcefulness.

Eco-Friendly Benefits of Repurposing Materials
Reused items keep over 900 million pounds of waste out of landfills annually. Old bricks, for example, stabilize soil during spring rains, preventing erosion. Gravel-filled borders withstand winter frosts, proving durability beats buying new.
Cost Savings and Creative Freedom
Recycled bricks cost just $0.50 per square foot—new pavers run $8. This stark contrast in pricing not only makes recycled bricks an economical choice but also allows homeowners to allocate their budgets toward other landscaping features. Broken concrete mosaics or pallet wood paths add unique charm and character to any garden design, transforming ordinary spaces into extraordinary ones. The versatility of these materials means you can create stunning visual effects that reflect your personal style. The savings let you experiment without breaking the bank, enabling you to try different layouts and designs that might have seemed out of reach with traditional materials.
| Material | Cost per Sq. Ft. | Lifespan |
|---|---|---|
| Recycled Bricks | $0.50 | 20+ years |
| New Pavers | $8.00 | 25 years |
Tip: Irregular shapes in repurposed materials create visual interest. Let your landscape tell a story.
Essential Tools and Prep Work for Your DIY Project
Skip the frustration—start with the right tools and groundwork. Proper preparation ensures your project lasts for years. A little effort upfront saves hours of fixes later.

Basic Tools You’ll Need
Gather these essentials before you begin:
- Spade and metal rake: For digging and smoothing the ground. The spade is perfect for breaking up tough soil, while the metal rake helps level the surface and remove debris, ensuring a clean workspace.
- 4′ level: Ensures your garden path stays even. A level is crucial for checking that your path is not only straight but also at the correct height, preventing water pooling.
- Safety goggles: Protect your eyes when handling gravel or wood. Wearing safety goggles is essential, especially when cutting materials or working with tools that can produce flying debris.
A tape measure helps plan dimensions. Accurate measurements are vital for a well-proportioned path. Pro tip: Label tools to avoid mid-project searches. Keeping your tools organized will save you time and frustration, allowing you to focus on the creative aspects of your project.
How to Prepare Your Garden Space
Start by marking the area with stakes and string. Remove 6 inches of soil to create a stable base. This depth prevents shifting over time.
Eliminate weeds thoroughly—roots left behind can regrow, leading to a more significant problem down the line. It’s crucial to take your time with this step to ensure that no remnants remain, as even small pieces can sprout new growth. Use the “dig-pack-level” method for gravel bases, which is an effective technique that ensures a solid foundation for your path:
- Dig the trench to the appropriate depth, ensuring it is wide enough to accommodate the gravel and any edging materials you may use.
- Pack the ground firmly to create a stable base that can withstand the weight of foot traffic and prevent shifting over time.
- Level with a rake, ensuring the surface is even and smooth, which will help with drainage and the overall appearance of your pathway.
Near a shed, watch for tree roots. Plan extra time to work around them. A 50-square-foot brick path typically takes 8 hours.
Garden Borders and Pathways from Recycled Materials: Top Ideas
Turn discarded items into stunning features for your outdoor space with these clever ideas. Whether you’re defining flower beds or crafting a walkway, repurposed materials add character while saving money.

Rustic Brick Borders with Gravel Fill
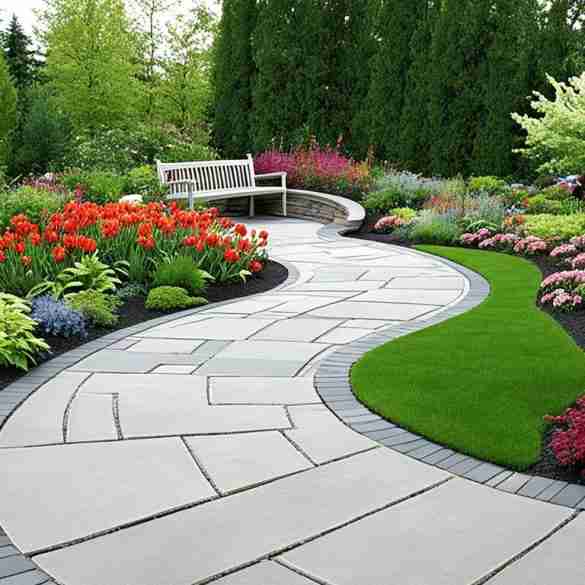
Salvaged bricks create timeless edges. Arrange them in a herringbone or soldier pattern for visual appeal. Fill gaps with gravel to block weeds and improve drainage.
This combo stabilizes the surface during heavy rains. Broken pieces? Use them to add mosaic accents. It’s a durable solution that blends with any landscape.
Whimsical Pallet Wood Pathways
Old pallets become charming walkways that can transform your garden space into a delightful retreat. To create these unique pathways, space the planks 2 inches apart and fill the gaps with fragrant wood chips or mulch, which not only adds a pleasant aroma but also helps retain moisture in the soil. The intentional gaps allow for effective water runoff, preventing puddles from forming and contributing to a rustic look that complements any garden style.
Be sure to sand down any rough edges of the pallets for safety, especially if children or pets will be using the pathway. To enhance the whimsical feel, pair the pathway with climbing plants, such as ivy or sweet peas, which can drape over the edges and create a fairytale vibe. This project takes just an afternoon to complete but lasts for many years, providing a durable and visually appealing walkway that invites exploration and enjoyment of your outdoor space.

Charming Stepping Stones from Broken Concrete
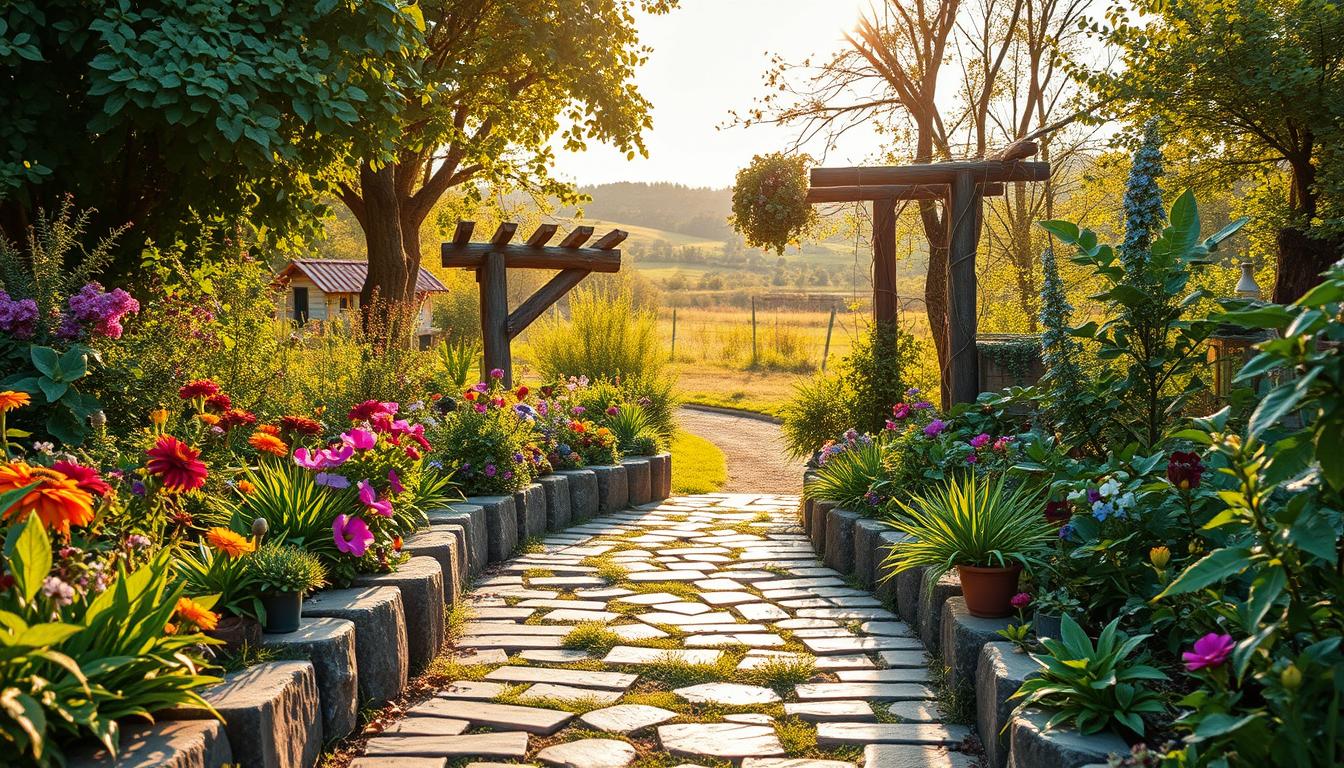
Leftover driveway chunks make unique stepping stones. Arrange irregular pieces like a puzzle for a mosaic effect. Surround them with low-growing plants to soften the look.
The textured surface prevents slips. For cohesion, match the stones’ tones to nearby flower beds. It’s art meets function.
Step-by-Step Guide to Building a Recycled Brick Path
Building a brick path from salvaged materials gives your space instant charm. With reclaimed bricks and gravel, you’ll create a durable surface that lasts decades. Follow these steps to craft a walkway with cottage appeal.

Gathering and Prepping Your Materials
Source bricks locally—Facebook Marketplace often lists them for under $0.35 each. It’s also worth checking with local construction sites or recycling centers, as they may have surplus bricks available at a low cost or even for free. Calculate four bricks per square foot for a running bond pattern, which not only provides a sturdy layout but also enhances the visual appeal of your path. Pressure-treated wood works best for edge restraints as it resists rot and provides a clean finish that helps keep the bricks in place.
Remove debris and clean bricks with a stiff brush to ensure they adhere properly and look their best. If you find bricks with stubborn stains or moss, consider using a mixture of vinegar and water for a more thorough cleaning. Gravel acts as a stable base, so aim for a 6-inch excavation depth. This prevents shifting and improves drainage, which is crucial for the longevity of your path. A well-prepared base will help avoid future maintenance issues, making your walkway both beautiful and functional.
Laying the Base and Setting the Bricks
Pack the trench with gravel, then level it. Ensure that the gravel is evenly distributed, as this will create a solid foundation for the bricks. Lay bricks tightly, leaving ¼-inch gaps for sand. Use a rubber mallet to tap them into place, ensuring they are firmly set and aligned correctly to prevent any shifting over time.
Check alignment with a 4-foot level, making sure that each brick is perfectly straight and flush with its neighbors. For curves, stagger bricks slightly to maintain a natural flow along the path. The irregular shapes add character while maintaining stability, allowing for a visually appealing and durable walkway that can withstand the elements.
Finishing Touches for Durability
Sweep polymeric sand into joints to lock bricks together securely. This process not only helps to stabilize the bricks but also prevents weeds from sprouting through the gaps. Mist lightly to activate the binding agent within the sand, which will harden over time, creating a robust bond. For extra protection against the elements and to prolong the life of your walkway, apply an eco-friendly sealant that will shield the surface from moisture and stains.
Edge with wood or steel to keep gravel in place and to create a clean, defined border that enhances the overall appearance of your pathway. Plant creeping thyme between gaps for a soft, fragrant touch that not only adds beauty but also attracts beneficial pollinators. Your path now blends function with cottage style, offering both practicality and a charming aesthetic that complements your outdoor space.
Creative Ways to Use Unconventional Recycled Items
Unusual items can bring unexpected charm to your outdoor space. From old tires to broken ceramics, repurposing these materials adds personality while reducing waste. Let’s explore two standout ideas and bonus touches to elevate your landscape.
Old Tires as Playful Edging
Cut discarded tires into 6-inch strips using a utility knife. The rubber bends easily around curves, creating soft borders perfect for play areas. These strips can also be stacked or layered to create varying heights, adding dimension to your landscape design. Additionally, the flexibility of the rubber allows for creative shapes that can accommodate any garden layout. Pro tip: Paint strips with outdoor acrylics for a pop of color, which not only enhances visual appeal but also helps protect the rubber from UV damage, prolonging its lifespan.
Over 25 million pounds of tires are recycled into landscaping products yearly. This durable option handles freeze-thaw cycles without cracking—ideal for harsh climates. Furthermore, using recycled tires in your garden contributes to sustainability efforts by reducing landfill waste and promoting eco-friendly practices. Their resilience means less maintenance and replacement, making them a cost-effective choice for long-term landscaping solutions.
Shingle Scraps for Weather-Resistant Borders
Asphalt shingles make sturdy edging that withstands rain and sun. Nail them vertically into the soil with roofing nails. Note: Keep shingles 12 inches away from edible plants to avoid chemical leaching.
Their layered design mimics natural stone, blending seamlessly into rustic themes. Leftover bundles from roof repairs often work best.

Bonus Touches for Extra Flair
- Crushed stone and wood chips fill gaps in stepping-stone paths, enhancing drainage.
- Embed ceramic tile pieces in gravel for mosaic accents.
- Upside-down wine bottles placed along a path catch sunlight and cast evening glows.
These projects demonstrate that creativity triumphs over convention. Your landscape transforms into a conversation starter—one recycled piece at a time.
Transform Your Garden Today with These Sustainable Tips
Ready to give your outdoor space a sustainable makeover? Repurposed materials save over $1,200 yearly while reducing waste. Start small—a 10 sq ft weekend project builds confidence and cuts costs.
Seasonal care keeps your path sturdy. Rake gravel in spring, reset bricks after frost, and weed edges monthly. Local gardening clubs often host material swaps, turning leftovers into treasures.
For more ideas, grab Sustainable Home Magazine’s spring checklist. Their expert tips help your landscape thrive. Every repurposed piece tells a story—what will yours say?
FAQ
Q: What are the benefits of using recycled materials for pathways and edging?
A: Repurposing materials like bricks, wood, or concrete reduces waste and saves money. It also adds a unique, personalized look to your outdoor space while being eco-friendly.
Q: How do I prepare the ground before laying a DIY path?
A: Clear the area of weeds and level the soil. A base of gravel or sand helps with drainage and stability, ensuring your path stays even over time.
Q: Can I use broken tiles or shingles for borders?
A: Yes! Broken tiles or old shingles make durable, weather-resistant edging. Arrange them creatively to add texture and color to flower beds.
Q: What’s the easiest recycled material for beginners to work with?
A: Wood chips or pallet planks are simple to install. They create a natural, rustic look and require minimal tools—perfect for first-time DIYers.
Q: How do I keep weeds from growing between bricks or stones?
A: Spread mulch or compacted gravel between gaps. For a low-maintenance fix, use landscape fabric underneath to block weeds.
Q: Can old tires be used in landscaping?
A: Absolutely! Paint and stack tires as playful edging or fill them with soil for raised beds. They’re durable and add a quirky touch.
Q: What’s the best way to secure loose gravel on a path?
A: Use edging materials like bricks or wood to contain the gravel. For extra stability, compact it with a tamper or roller.


2 comments
[…] gardening with recycled materials is very flexible. You can put your repurposed gardening containers anywhere. This is great for […]
[…] old materials for your garden is a smart money move and helps the planet. DIY garden decor and recycled crafts let you make a unique space without spending a […]