Queensland DIY Solar Mounting Guide
Looking to harness Queensland’s abundant sunshine with a DIY solar installation? The right mounting components are crucial for a safe, efficient, and cyclone-resistant solar power system. This comprehensive guide will walk you through everything you need to know about DIY solar mounting components in Queensland—from trusted local suppliers to installation best practices for our unique climate.
Table of Contents
Benefits of Queensland DIY Solar Mounting Guide
Queensland’s climate offers ideal conditions for solar energy generation, with the state receiving some of Australia’s highest solar radiation levels. Installing your own solar mounting system comes with several advantages:Cost savings of up to 10-15% on installation laborComplete control over component selection and qualityFlexibility to customize your system for Queensland’s unique weather conditionsSatisfaction of building a sustainable energy solution yourselfAbility to expand your system gradually as budget allows

Queensland-Specific Considerations: When selecting DIY solar mounting components in Queensland, prioritize cyclone-rated systems for coastal areas and corrosion-resistant materials that can withstand our humid, salt-laden air. Proper roof penetration sealing is also essential during our intense summer rainy season.
Essential DIY Solar Mounting Components
Before exploring where to buy your components, let’s understand what you’ll need for a complete DIY solar mounting system in Queensland:

Mounting Rails
The backbone of your mounting system, typically made from anodized aluminum for corrosion resistance. For Queensland installations, look for rails rated for high wind loads (cyclonic conditions).
Roof Attachments
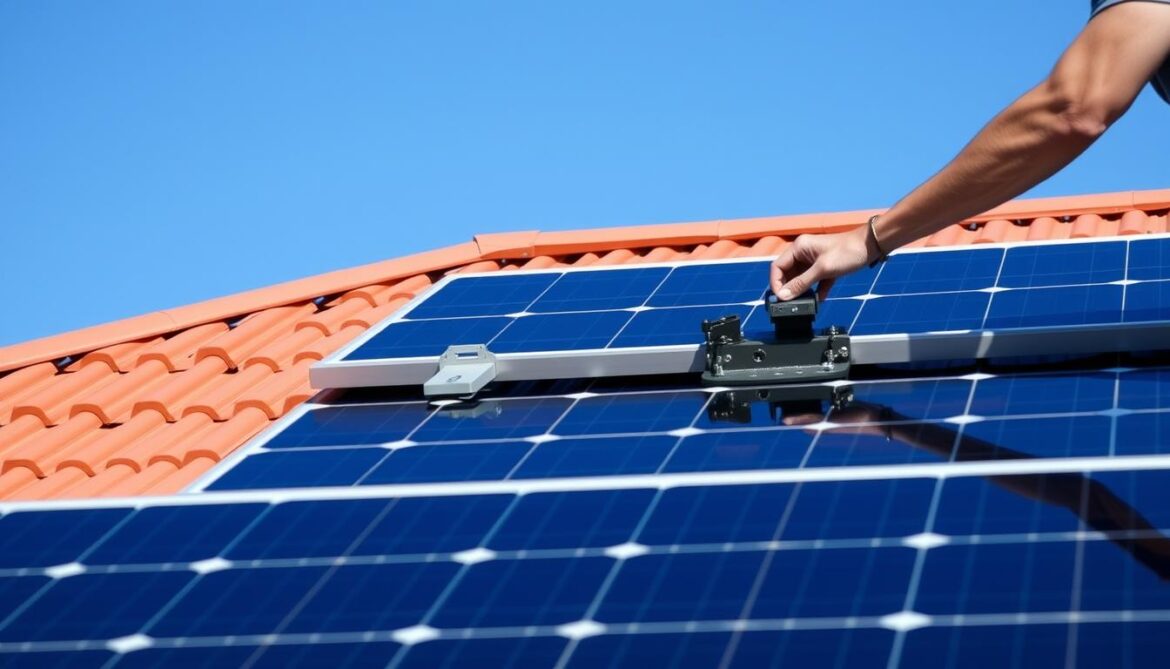
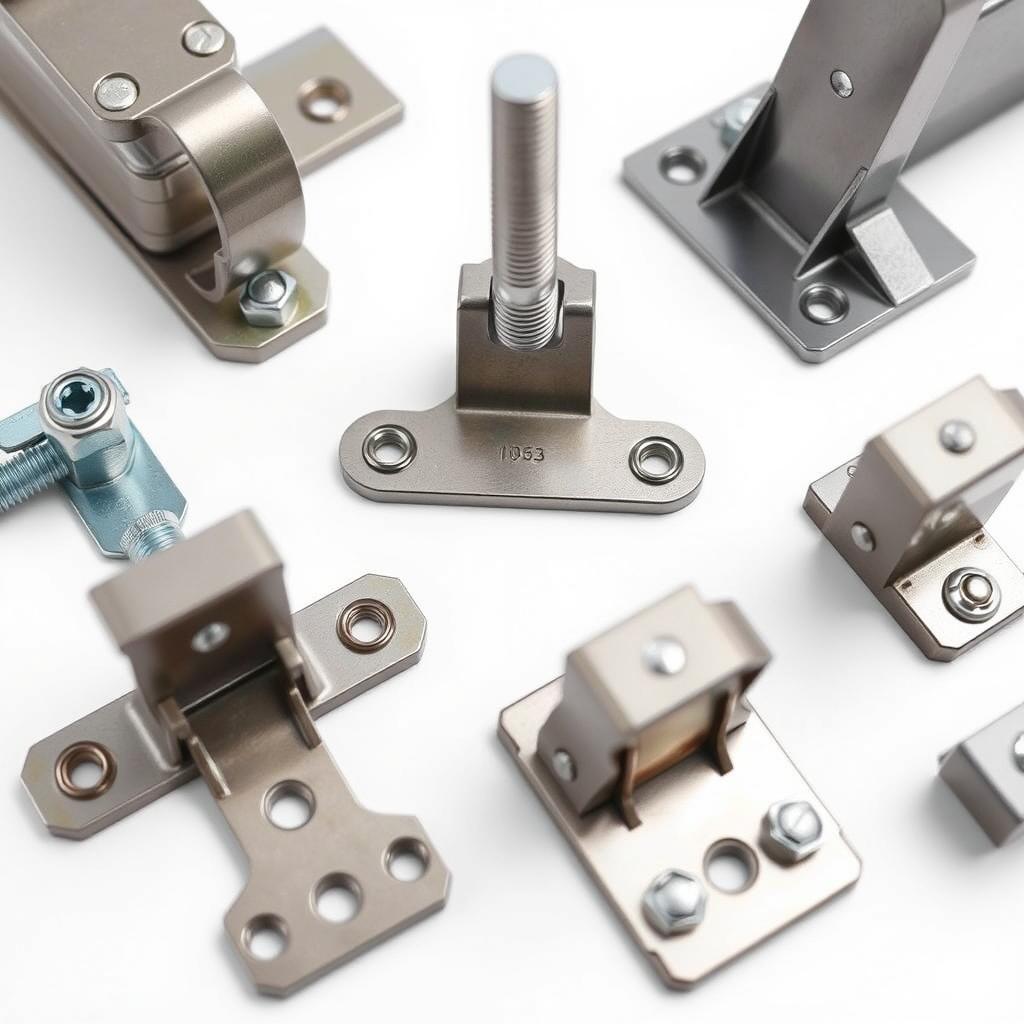
These secure the rails to your roof structure. Different types are available for tile, metal, and flat roofs. Queensland installations require heavy-duty attachments with proper waterproofing.

Panel Clamps
Mid-clamps and end-clamps secure your solar panels to the mounting rails. For Queensland’s high wind areas, choose clamps with higher torque ratings and locking mechanisms.

Grounding Components
Essential for safety, these components ensure your system is properly grounded. Queensland’s frequent lightning storms make proper grounding particularly important.

Hardware & Fasteners
Includes bolts, nuts, and specialized fasteners. For Queensland installations, always use marine-grade stainless steel (316-grade) to prevent corrosion, especially in coastal areas.

Ground Mounting Systems
An alternative to roof mounting, these systems are ideal for properties with limited roof space or unfavorable roof orientation. Queensland installations should use concrete footings for stability.
Where to Buy DIY Solar Mounting Components in Queensland
Queensland offers several reliable suppliers for quality solar mounting components. Here are the top options for DIY enthusiasts:
Local Brick-and-Mortar Stores
Bunnings Warehouse – Multiple Queensland locations with basic mounting hardware
Solargain Brisbane – Professional-grade mounting systems
Batteries Plus – Specialized solar hardware stores in Brisbane and Gold Coast
Queensland-Based Online Retailers
Solar Depot – Brisbane-based with extensive mounting options
Aussie Batteries & Solar – Complete mounting kits with Queensland delivery
Solar Shop Online – Wide selection with technical support
Need Help Selecting the Right Components?
Our solar experts can recommend the perfect mounting system for your Queensland property based on your roof type, location, and budget.
Price Comparison: DIY Solar Mounting Components Queensland
Prices for solar mounting components can vary significantly between suppliers. Here’s a comparison of average prices for quality components in Queensland as of 2024:
| Component | Budget Option | Mid-Range Option | Premium Option | Recommended for QLD |
| Mounting Rails (per meter) | $15-20 | $25-35 | $40-50 | Mid-Range (coastal areas) Budget (inland) |
| Roof Attachments (each) | $8-12 | $15-25 | $30-45 | Premium (cyclone zones) Mid-Range (other areas) |
| Panel Clamps (set of 4) | $12-18 | $20-30 | $35-50 | Mid-Range minimum |
| Grounding Kit | $25-40 | $45-70 | $75-120 | Mid-Range minimum |
| Complete Mounting Kit (6 panels) | $250-350 | $400-600 | $650-900 | Mid-Range (inland) Premium (coastal/cyclonic) |

Buyer’s Tip: For Queensland installations, especially in coastal or cyclone-prone areas, investing in higher-quality mounting components is strongly recommended. The small additional cost provides significant benefits in durability and peace of mind during extreme weather events.
Step-by-Step DIY Solar Mounting Installation Guide for Queensland Homes

Plan Your Layout – Measure your roof space and determine the optimal panel arrangement. In Queensland, north-facing installations typically yield the best results, with a tilt angle of approximately 20-30 degrees depending on your specific latitude.
Gather Tools and Materials – You’ll need a drill, wrench set, tape measure, chalk line, sealant for roof penetrations, and all mounting components. For Queensland installations, use marine-grade stainless steel fasteners and UV-resistant sealants.
Locate Roof Rafters – Roof attachments must be secured to structural rafters, not just the roofing material. Use a stud finder or measure from the eaves to locate rafters accurately.
Install Roof Attachments – Secure attachments to rafters, ensuring proper waterproofing. For Queensland’s heavy rain seasons, use additional flashing and sealant around penetrations.
Mount Rails – Attach rails to the roof attachments, ensuring they’re level and properly aligned. Space rails according to your panel dimensions and manufacturer specifications.
Install Grounding Equipment – Properly ground your mounting system according to Queensland electrical codes. This is particularly important due to our frequent lightning storms.
Secure Panels – Use mid-clamps between panels and end-clamps at the array edges to secure panels to the rails. In Queensland’s high wind areas, follow torque specifications carefully.
Final Inspection – Check all connections, ensure proper alignment, and verify that all components are secure before connecting electrical components.
Queensland Safety Note:
Working at heights carries significant risks. Always use proper safety equipment and consider hiring professionals for roof work if you’re uncomfortable with heights. Additionally, electrical connections should be performed by a licensed electrician in compliance with Queensland regulations.
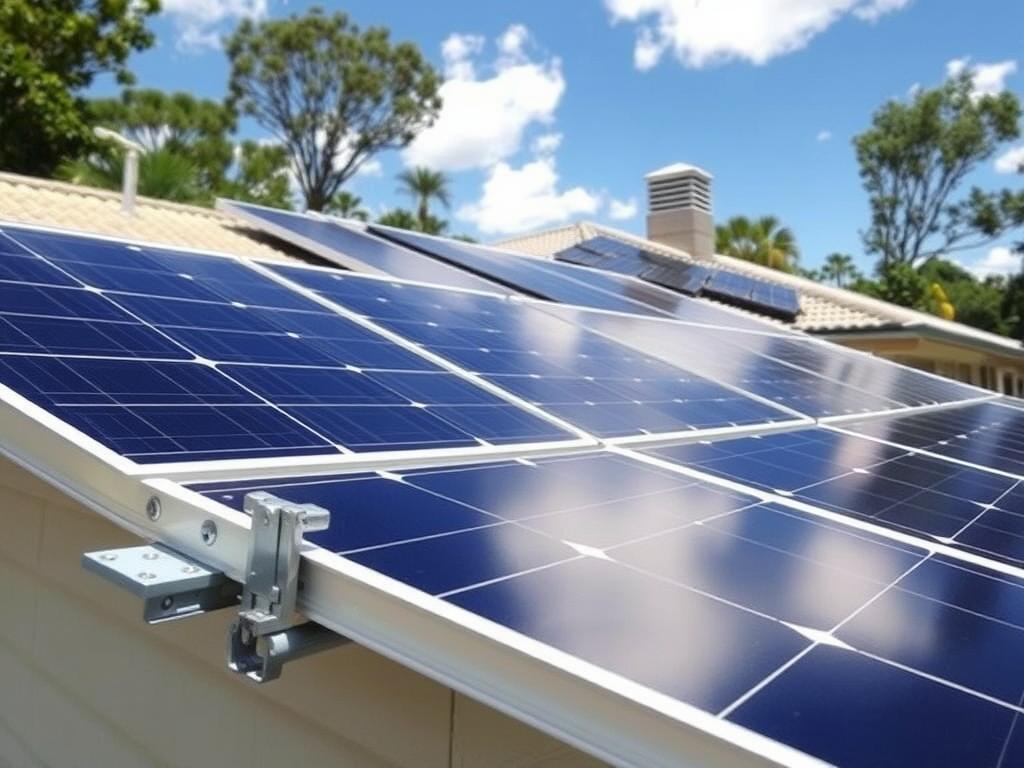
Mounting Solutions for Different Queensland Roof Types

Metal/Colorbond Roofs
Common throughout Queensland, metal roofs require specialized brackets that clamp to the raised seams or attach directly to the roof structure. Use brackets with EPDM rubber gaskets to prevent leaks and ensure proper waterproofing around all penetrations.
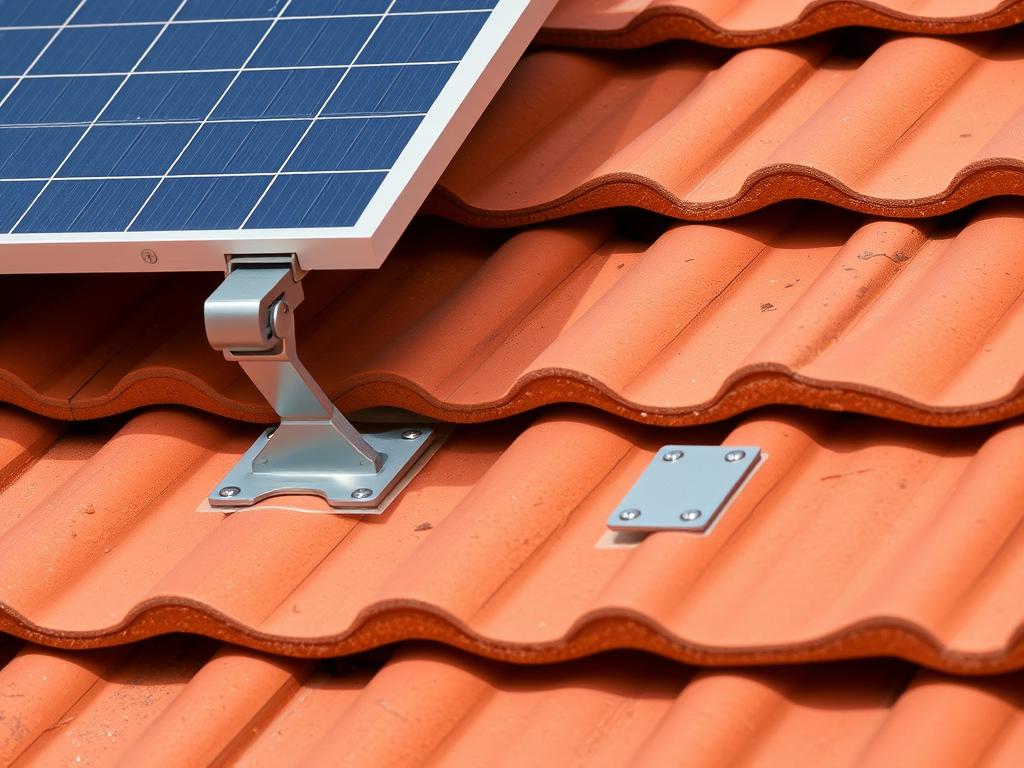
Tile Roofs
Tile roof installations require brackets that hook under or replace tiles. For Queensland’s heavy rain events, ensure proper flashing and sealing around all penetrations. Tile replacement brackets offer the most secure and leak-proof solution for cyclone-prone areas.

Flat Roofs
Flat roof installations in Queensland require tilt frames to achieve optimal angle for solar collection. These systems can be ballasted (weighted) or mechanically attached. For cyclone-prone areas, mechanical attachment with proper waterproofing is strongly recommended.
Queensland Regulations and Compliance for DIY Solar Installations
Installing solar in Queensland requires compliance with several regulations, even for DIY installations:Clean Energy Council Guidelines – All installations must comply with CEC guidelines for rebate eligibilityAS/NZS 5033 – Standards for installation of photovoltaic arraysAS/NZS 3000 – Wiring rules for electrical installationsLocal Council Approval – Some councils require development approval for ground-mounted systemsCyclone Rating Requirements – Installations in cyclone-prone areas must meet specific wind loading standards
“While DIY mounting is possible, all electrical connections must be completed by a licensed electrician for safety and compliance with Queensland regulations.”
– Queensland Electrical Safety Office

Need Help With Compliance?
Our network of Queensland-certified solar installers can review your DIY plans or complete the electrical connections to ensure full compliance.
Queensland Solar Rebates and Incentives for DIY Installations
Even DIY solar installations can qualify for various incentives, provided they meet certain requirements:

| Incentive Program | Eligibility Requirements | Potential Savings | DIY Installation Notes |
| Small-scale Technology Certificates (STCs) | System under 100kW, installed by CEC accredited installer | $2,000-$4,000 for typical home system | Electrical work must be completed by licensed electrician |
| Queensland Government Interest-Free Loans | Queensland residents, approved system and installer | Interest savings on loans up to $4,500 | Not available for fully DIY installations |
| Feed-in Tariffs | Grid-connected system with export capability | 6-8c per kWh exported (varies by retailer) | System must be signed off by licensed electrician |
| Regional Home Energy Efficiency Scheme | Regional Queensland residents | Up to $2,000 for eligible households | Professional certification required |
Important: To qualify for most rebates and incentives, your DIY solar system must have its electrical components installed and certified by a Clean Energy Council accredited installer. The mounting structure can be DIY, but final connections typically require professional certification.
Frequently Asked Questions About DIY Solar Mounting in Queensland
What are the best mounting kits for cyclonic areas in Queensland?
For cyclone-prone areas in Queensland (particularly coastal regions north of Bundaberg), look for mounting systems specifically rated for cyclonic conditions. These typically feature:
- Higher-grade aluminum or stainless steel components
- Additional roof attachment points (typically 30-50% more than standard installations)
- Reinforced rail connections and heavy-duty clamps
- Wind certification to AS/NZS 1170.2 standards for your region’s wind classification
Brands like Sunlock, Clenergy, and SolarRoof offer cyclone-rated mounting systems suitable for Queensland’s high-wind zones.
What corrosion-resistant materials are best for coastal Queensland installations?
For coastal installations within 5km of saltwater, use only marine-grade materials:
- 316-grade stainless steel fasteners (not 304-grade)
- Anodized aluminum rails with minimum 15μm anodizing thickness
- EPDM or silicone rubber gaskets (not neoprene, which deteriorates faster)
- UV-stabilized components for all plastic parts
Additionally, apply dielectric grease to all metal-to-metal connections to prevent galvanic corrosion, and inspect your mounting system annually for signs of corrosion.
Do I need council approval for DIY solar mounting in Queensland?
For most residential roof-mounted solar systems in Queensland, council approval is not required as they’re typically considered “exempt development.” However, exceptions apply:
- Ground-mounted systems often require development approval
- Systems on heritage-listed buildings require approval
- Installations in some body corporate properties may need body corporate approval
- Systems that significantly alter the roof structure may require building approval
Always check with your local council before beginning installation, as requirements vary between Queensland municipalities.
What is the optimal mounting angle for solar panels in Queensland?
The optimal mounting angle depends on your specific location in Queensland:
- Brisbane and Southeast QLD: 20-25 degrees
- Central Queensland: 22-27 degrees
- North Queensland: 15-20 degrees
- Far North Queensland: 10-15 degrees
These angles roughly correspond to your latitude. For maximum annual production, face panels north. If you want to optimize for afternoon production (when electricity rates are typically higher), a slight northeast orientation may be beneficial.
Can I install DIY solar mounting components myself but hire an electrician for connections?
Yes, this hybrid approach is common and recommended. In Queensland, you can legally:
- Purchase and install the mounting hardware yourself
- Mount the solar panels on the installed racking
- Prepare the site for electrical work
However, all electrical work—including connecting panels to inverters, battery systems, and the grid—must be performed by a licensed electrician. This approach maintains eligibility for rebates while still saving on labor costs.
Final Thoughts: Succeeding with Your Queensland DIY Solar Mounting Project
Still have questions about DIY solar mounting components for your Queensland property? Our solar experts can provide personalized advice based on your specific location, roof type, and energy needs.
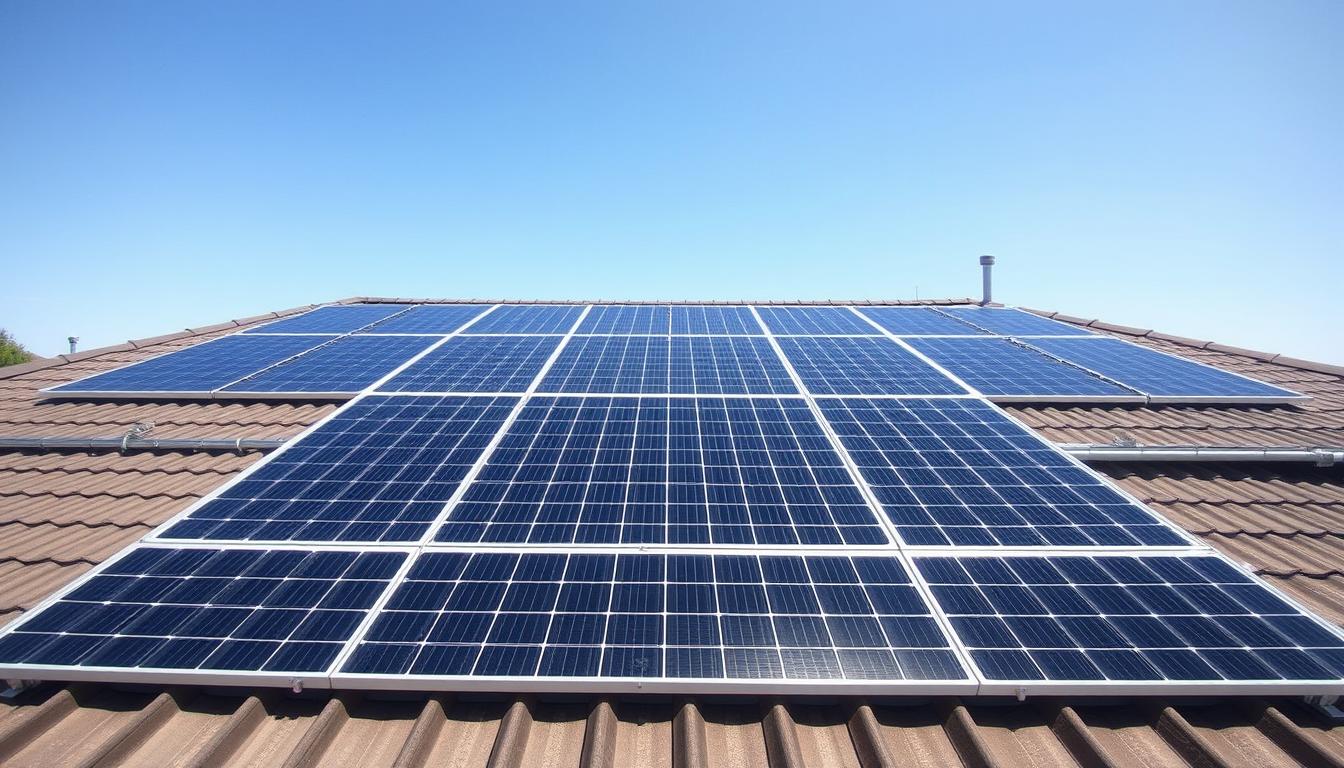
DIY solar mounting in Queensland offers a rewarding way to harness our abundant sunshine while saving on installation costs. By selecting the right components for our unique climate conditions, following proper installation techniques, and complying with local regulations, you can create a safe, efficient, and durable solar power system for your home.
Remember that while the mounting components can be installed as a DIY project, electrical connections should be completed by licensed professionals to ensure safety and compliance. With the right approach, your DIY solar mounting project can provide decades of reliable, clean energy for your Queensland home.
Ready to Start Your DIY Solar Journey?
Browse our recommended suppliers for quality mounting components suited to Queensland’s unique climate conditions.

